
Configure LDAP gateway url
This functionality empowers users to customize their web browser extension with a specific LDAP gateway URL, streamlining access management and enhancing security protocols. By integrating an LDAP gateway, users can leverage centralized authentication services, facilitating a seamless sign-in experience across multiple platforms.
Step-by-Step Guide to Configuring Your LDAP Gateway URL:
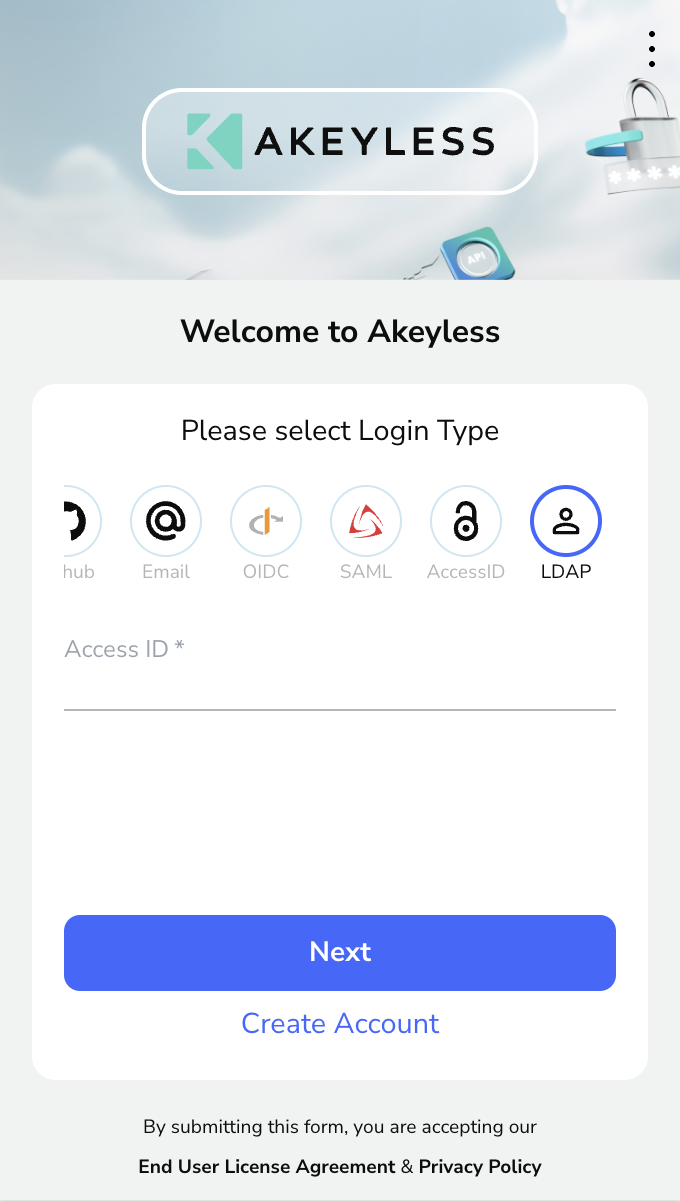
Initiate Configuration: Begin by navigating to the sign-in screen of your web browser extension. Look for the three-dot menu icon situated in the upper right corner of the interface. This menu is your gateway to modifying extension settings and personalizing your browsing experience.
Enter the LDAP Gateway URL:
Upon accessing the settings menu, locate the text field designated for the LDAP gateway URL. This field is where you will input the URL of your LDAP server. The LDAP gateway acts as a bridge, connecting your browser extension to the LDAP server, which manages user credentials and access rights. Carefully enter the URL, ensuring accuracy, as this will dictate the success of the integration.
Save Your Settings:
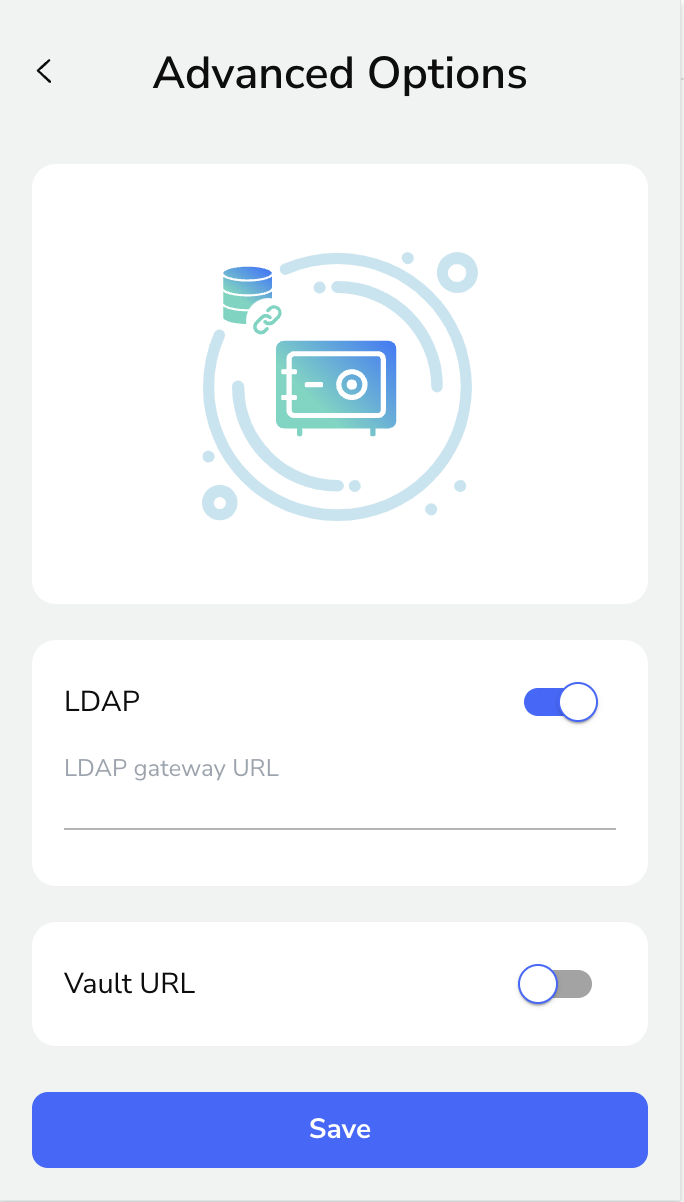
After entering the LDAP gateway URL, finalize your configuration by clicking the "Save" button. This action commits your settings to the browser extension, activating the LDAP gateway connection. Upon successful configuration, your extension will communicate with the LDAP server for authentication purposes, streamlining the sign-in process and bolstering security measures.
Updated 2 months ago